Knob and Dial Cleaning: Troubleshooting Tips (2026)
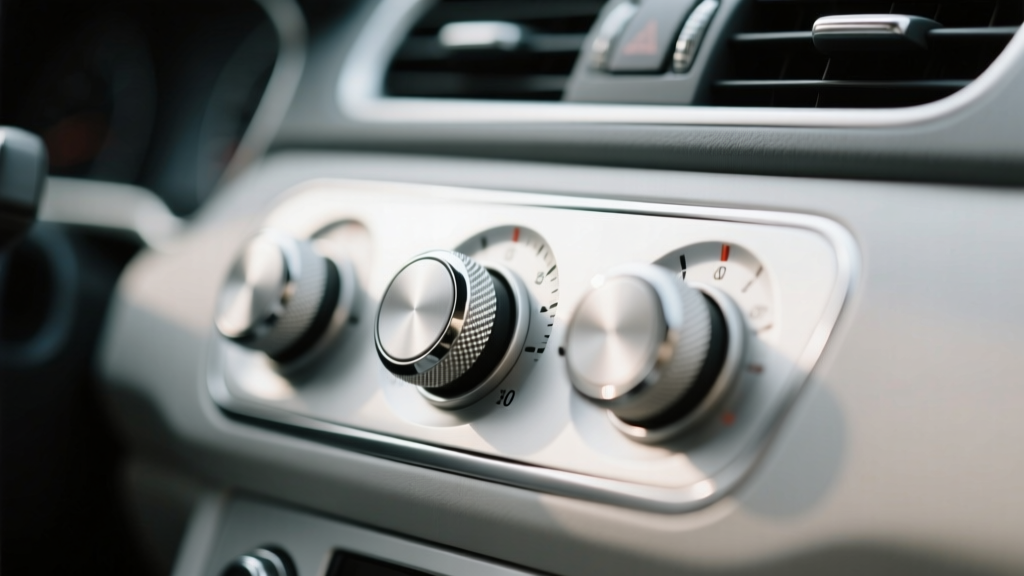
Knobs and dials are some of the most-touched surfaces in your car interior. Volume knobs, climate control dials, infotainment rollers, seat adjustment switches, and rotary shifters collect skin oils, sunscreen, food residue, and airborne dust every time you drive. Over time, that grime doesn?t just look bad?it can cause sticky movement, squeaks, poor button response, and even premature wear on printed icons.
Cleaning these areas sounds simple until you run into common frustrations: the dial still feels gummy after wiping, lettering starts to fade, streaks appear on glossy trim, or crumbs keep reappearing from the edges. This guide breaks down why those issues happen and how to fix them with the right tools and methods?without damaging soft-touch coatings, piano-black panels, or delicate electronics.
If you?re trying to get your interior back to ?like-new,? or you?re maintaining a detailed cabin between deep cleans, learning proper knob and dial cleaning is one of the fastest ways to make your car feel cared for.
Why Knobs and Dials Get Dirty (and Why Some Are Harder to Clean)
Not all grime is created equal. Understanding what you?re dealing with makes troubleshooting much easier.
- Skin oils and lotion: Leave shiny, greasy films that smear when wiped with the wrong towel.
- Dust and lint: Packs into seams around rotary knobs and switch edges.
- Sugary spills and beverage mist: Create sticky residues that attract more dirt.
- Off-gassing and interior haze: A light film from plastics/vinyl that settles on frequently used surfaces.
- Old protectants: Silicone-heavy dressings can leave a slippery feel and trap dust.
Knobs and dials also vary in materials?matte plastic, glossy piano black, rubberized coatings, knurled aluminum, and painted icons. The wrong cleaner can haze, scratch, or strip the finish, so a careful approach matters.
Tools and Products That Make the Job Easier
Recommended Cleaning Tools
- Microfiber towels: At least two?one for cleaning, one for final buffing. Use a short-pile towel for textured plastics and a plush towel for final wipe.
- Soft detailing brush: A small interior brush (boar?s hair or ultra-soft synthetic) to agitate grime around edges.
- Cotton swabs or foam swabs: Great for tight seams and printed icons.
- Plastic-safe interior cleaner: Preferably a gentle, non-greasy formula.
- Isopropyl alcohol (IPA) diluted: Useful for stubborn oils, but needs caution on sensitive coatings.
- Compressed air or a small handheld blower: Helps remove dust and crumbs from crevices before wiping.
Product Recommendations and Comparisons (Real-World Friendly Picks)
You don?t need a shelf full of chemicals. A good interior cleaner plus a specialty option for stubborn grime usually covers most situations.
- General interior cleaner (daily/weekly upkeep): Look for a pH-balanced, residue-free interior cleaner labeled safe for plastic/vinyl. These are ideal for most knob and dial cleaning without leaving shine.
- All-purpose cleaner (APC) diluted (deep cleaning): A quality APC can work well when properly diluted (commonly 10:1 to 20:1 for interiors). Avoid high-strength use on soft-touch and glossy trim.
- 70% isopropyl alcohol diluted 1:1 with water (spot use): Effective on oily films, but can dull soft-touch coatings or fade weak printing if overused. Always test first.
- Interior protectant (optional): Choose a matte or OEM-finish protectant that?s non-greasy. Avoid glossy silicone dressings around frequently touched controls.
Quick rule: If you?re unsure about a surface (especially rubberized or ?soft-touch?), start with the gentlest interior cleaner and minimal agitation.
Step-by-Step: Safe Knob and Dial Cleaning (Most Cars)
- Park in shade and let surfaces cool. Heat bakes on cleaners and increases streaking?especially on piano black and gloss trim.
- Remove loose debris first. Use compressed air or a soft brush to pull dust out of gaps. This reduces scratching.
- Spray cleaner onto your towel, not the control. Spraying directly risks pushing liquid into switch openings, dial shafts, or electronics.
- Wipe the knob/dial face and surrounding trim. Use light pressure and multiple passes rather than scrubbing hard.
- Agitate edges and seams with a soft brush. Work around the perimeter where grime builds up. Wipe away loosened dirt with a clean section of towel.
- Detail tight areas with a swab. Slightly dampen a swab with cleaner to trace around icons, knurling, and seams.
- Final buff with a dry microfiber. This removes residue and prevents streaks, especially on glossy panels.
- Optional: apply a light protectant. If you use a protectant, apply it to a towel first and wipe lightly. Keep touched surfaces matte and non-slippery.
Real-World Example: Sticky Volume Knob
If your volume knob feels gummy, it?s usually a mix of skin oils and old dressing residue. Clean once with a gentle interior cleaner. If it still feels sticky, do a second pass using a slightly stronger approach:
- Use an APC diluted for interior use (start mild).
- Lightly agitate the knurled edges with a soft brush.
- Wipe clean and follow with a damp (water-only) towel to remove leftover cleaner, then dry buff.
Troubleshooting: Common Knob and Dial Cleaning Problems (and Fixes)
Problem 1: The Dial Still Feels Sticky After Cleaning
Likely causes: Old silicone dressing, sugary residue, or cleaner left behind.
Fix:
- Re-clean using a mild APC dilution or a stronger interior cleaner.
- Follow with a water-damp microfiber wipe to ?rinse? residue.
- Dry buff thoroughly.
- If you previously used shiny dressings, stop applying them on frequently touched controls.
Problem 2: Streaks or Smears on Glossy Trim Around Knobs
Likely causes: Too much product, dirty towel, or cleaning on a hot surface.
Fix:
- Use less cleaner?one or two light sprays on the towel is enough.
- Switch to a fresh microfiber and finish with a dedicated dry buff towel.
- Clean in shade, and avoid letting product air-dry on gloss surfaces.
Problem 3: White Chalky Residue in Knurling or Edges
Likely causes: Cleaner drying in texture, or dust mixing with protectant.
Fix:
- Use a soft brush with a lightly damp towel to lift residue.
- Finish with a water-damp wipe, then dry buff.
- Apply protectant sparingly (or skip it on textured dials).
Problem 4: Fading Icons or Worn Print After Cleaning
Likely causes: Too-aggressive chemicals (alcohol/strong APC), scrubbing, or abrasive towels.
Fix:
- Stop using alcohol or high-strength cleaners on printed icons.
- Switch to a gentle interior cleaner and soft microfiber.
- Use swabs with minimal pressure around lettering.
Tip: If icons are already worn, cleaning won?t restore them. Consider replacement buttons/trim pieces for high-wear areas if you want a factory-fresh look.
Problem 5: Gritty Feeling When Turning a Rotary Dial
Likely causes: Dust and fine debris packed around the dial base.
Fix:
- Blow out the perimeter carefully with compressed air (short bursts).
- Brush around the base while holding a microfiber nearby to catch debris.
- Avoid flooding the area with liquid. If the gritty feel persists, the issue may be internal wear rather than dirt.
Problem 6: Squeaking or Creaking Knobs After Cleaning
Likely causes: Cleaner residue, dried-out plastic-to-plastic contact points, or temperature-related trim noise.
Fix:
- Remove residue with a water-damp wipe and dry buff.
- Don?t apply oily dressings to controls; they attract dust and can worsen squeaks over time.
- If squeaks persist, they may come from trim clips or panels rather than the knob itself.
Special Surfaces: How to Clean Without Damage
Piano Black Trim (High-Gloss Panels)
- Use a very clean microfiber?any grit will scratch.
- Spray cleaner on the towel, not the panel.
- Light pressure only; let the towel do the work.
- Buff with a second dry towel to prevent haze.
Rubberized / Soft-Touch Coatings
- Start with mild interior cleaner and minimal agitation.
- Avoid frequent alcohol use; it can dull or make coatings tacky over time.
- Test in a hidden spot if you?re unsure.
Metal Knobs (Aluminum, Knurled Finishes)
- Use a soft brush to get into knurling.
- Dry thoroughly?especially in humid climates?to avoid water spots.
- Avoid abrasive pads or ?magic eraser? type melamine on visible metal finishes.
Common Mistakes to Avoid
- Spraying directly into knobs, seams, or switches: Liquids can seep into electronics and cause failures or sticky mechanisms.
- Using strong cleaners full-strength: High-alkaline APC or heavy solvents can discolor plastics and strip printed icons.
- Scrubbing with rough towels or paper towels: Paper can leave micro-scratches on glossy trim and haze clear plastics.
- Relying on greasy dressings: They feel slick, attract dust, and can make controls slippery (not what you want on frequently touched surfaces).
- Cleaning on a hot interior: Product evaporates too fast, causing streaks and making residue harder to remove.
- Skipping the ?rinse? wipe when needed: Some cleaners need a follow-up wipe with water to prevent tackiness.
Maintenance Schedule: Keep Knobs and Dials Looking New
A simple routine prevents buildup so you don?t need aggressive cleaners later.
- Weekly (or every other week): Quick wipe of high-touch controls with a lightly damp microfiber or gentle interior cleaner.
- Monthly: Brush around dial edges and seams; detail with swabs as needed.
- Seasonally: Deep clean with careful agitation, especially after summer sunscreen season or winter grime.
FAQ: Knob and Dial Cleaning
Can I use isopropyl alcohol to clean car knobs and dials?
You can, but use it sparingly and diluted (commonly 1:1 with water) and avoid repeated use on soft-touch coatings and printed icons. Alcohol is great for oily films, but it can dull finishes or weaken lettering if overused. When in doubt, start with a dedicated interior cleaner.
What?s the safest way to clean around electronic buttons and rotary controls?
Spray product onto a microfiber towel?not onto the controls?then wipe. Use swabs for tight areas and keep liquids out of seams. If you need extra cleaning power, do multiple light passes rather than soaking the area.
Why do my knobs look shiny after cleaning?
Shine usually means oils or dressing residue is still present, or the product you used leaves gloss behind. Re-clean with a residue-free interior cleaner, then do a water-damp wipe and dry buff. Avoid glossy protectants on touch points if you prefer an OEM matte finish.
How do I remove grime from the tiny gaps around dials?
Start with compressed air or a soft brush to loosen debris. Then use a lightly dampened swab to trace the gap. Rotate the swab as it picks up dirt, and finish by wiping with a clean microfiber.
Are ?magic erasers? safe for knobs and interior controls?
Use extreme caution. Melamine sponges are mildly abrasive and can dull glossy trim, remove coatings, and fade printed symbols. Reserve them only for very specific problems on durable, textured plastic?and always test first. For most knobs and dials, a soft brush and proper cleaner is safer.
My dial feels rough or skips when turning?can cleaning fix it?
If the roughness is caused by debris at the base, careful air/brush cleaning can help. If the skipping is internal (wear or a failing encoder in infotainment knobs), cleaning won?t solve it and the component may need repair or replacement.
Actionable Next Steps
- Start with a gentle interior cleaner, two clean microfibers, and a soft brush.
- Clean in shade, spray onto the towel, and use light agitation around edges.
- If stickiness remains, do a second pass and follow with a water-damp wipe to remove residue.
- Skip greasy dressings on frequently touched knobs?keep the finish clean and matte for better grip.
- Make it routine: a quick weekly wipe prevents the heavy buildup that causes most problems.
If you found this helpful, check out more practical interior care guides and troubleshooting tips on carinteriormix.com.